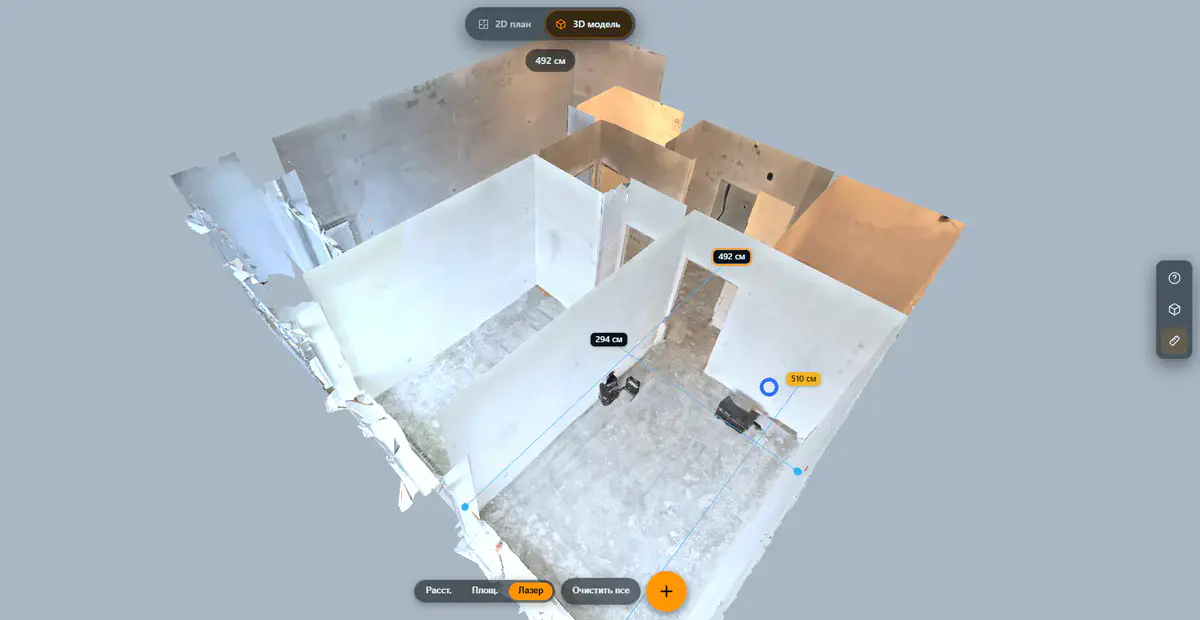
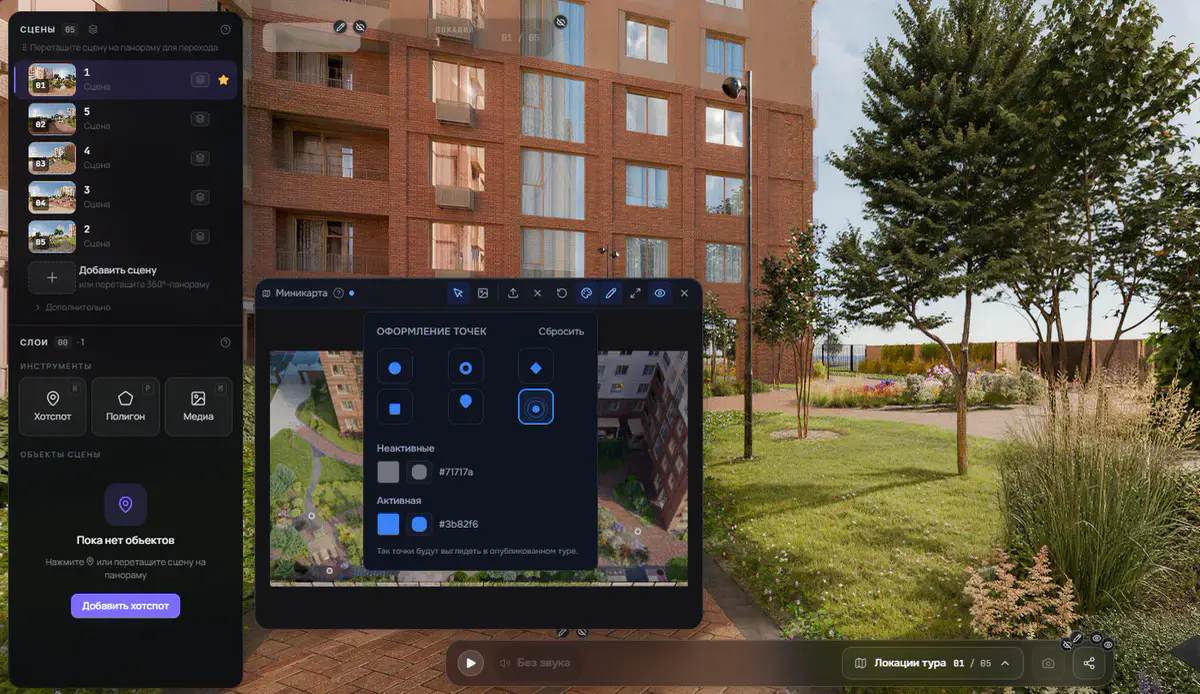
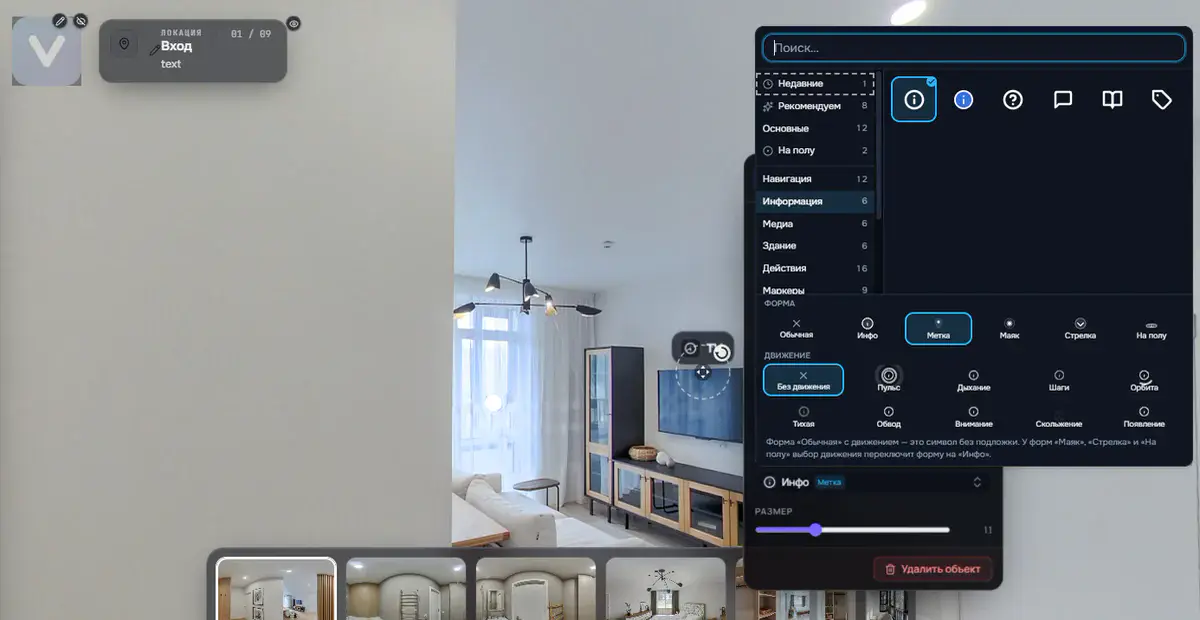
Floors now in both tour types: 360° and 3D
A two-level apartment, an office on three floors, a museum with galleries stacked on several levels: until now, the tour in all of these cases was one long list of scenes, with a single shared plan on the minimap. Today we have finished floors for classic 360° tours. In 3D tours, floors arrived a little earlier, in July, so the feature is now available in both tour types.
How it looks in the editor
Above the scene list there is a new layers button. The first click creates two floors right away and moves all existing scenes to the first one. All that is left is to distribute them as they are in the building.
- You change a scene's floor with the floor icon directly in its row.
- Select several scenes with Ctrl or Shift and move them to another floor in one step.
- The scene list is grouped by floor, and floor headings can be collapsed, which is noticeably calmer with twenty scenes.
- Each floor can have its own plan, which becomes the minimap background. If no plan is uploaded for a floor, the tour's general plan is used.
- The minimap only shows scenes on the selected floor. Scenes without a floor are always visible on every floor, which is handy for an entrance area or a courtyard.
What visitors see
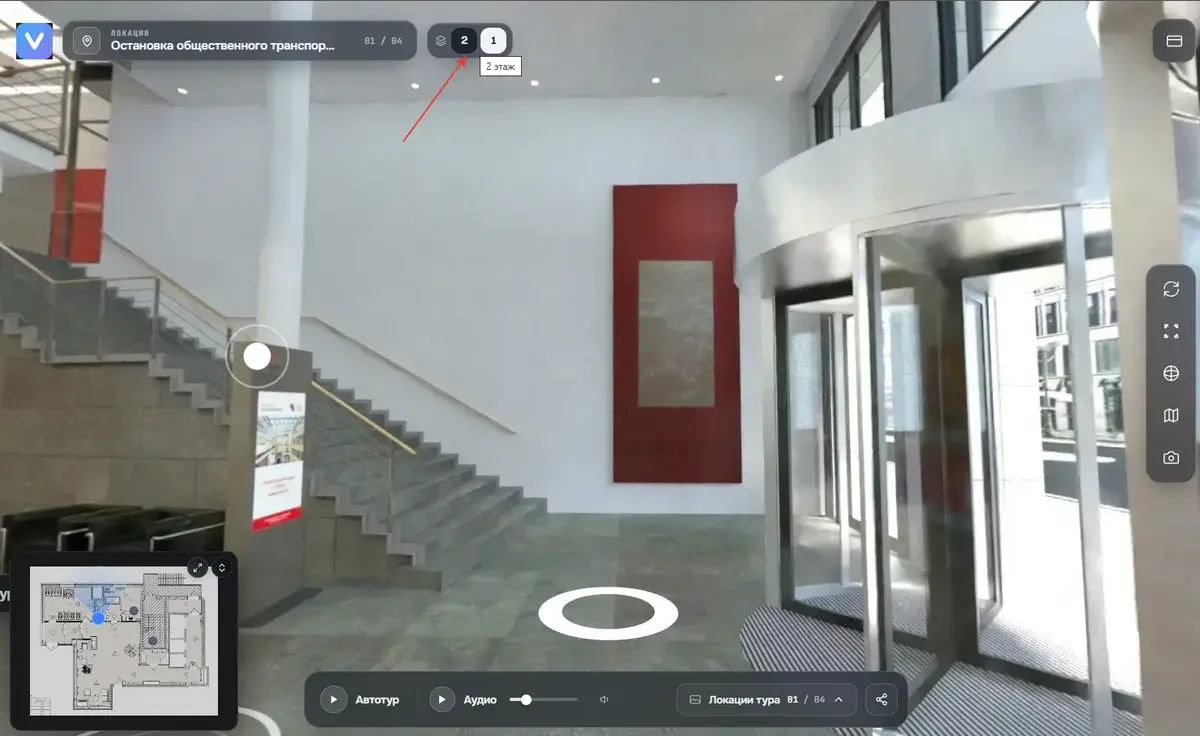
In the published tour, a floor switcher appears in the top right corner. With only a few floors labeled with numbers, it shows compact segments; otherwise it is a drop-down list.
When visitors switch floors, they land on that floor's start scene, which you set in the editor, and the map background changes to that floor's plan. If someone moves to another floor on their own, for example via a hotspot on the stairs, the switcher follows automatically and highlights the right floor.
The scene list in the tour still shows all scenes, separated by floor. So visitors can reach any floor without the stairs, simply by picking a scene from the list.
Nothing changes for existing tours
As long as a tour has fewer than two floors, nothing changes at all: not in the editor, not in the published tour, not on the minimap. Every tour built before keeps working exactly as it did. Floors are something you switch on yourself when you need them.
In 3D tours
In 3D tours, floors have been available since July. You set them up in the studio, which also offers automatic assignment by height; on a typical building it usually gets the split right the first time. The tour itself has the same floor switcher, filters viewpoints by floor and shows the plan of the selected floor on the map.
FAQ
Do I have to upload a plan for every floor?
No. If a floor has no plan of its own, the minimap shows the tour's general plan. You can add plans later, for one floor or all of them.
What about scenes that do not belong to any floor?
Leave them without a floor: such scenes are visible on the minimap on every floor. That makes sense for a courtyard, a parking area, an entrance or an overview of the property.
How many floors can I create?
As many as the property needs. The switcher picks the right layout on its own: segments for a few floors with numeric labels, and a drop-down list when there are many floors or long names.
Open a tour in your account, click the layers button above the scene list and assign the scenes to floors; on a small property that takes a couple of minutes. No account yet? Sign up here.
Try it with your own project
Create a free account and build your first tour — paid plans are set up on request.
Create a free account →