VPano plugin for 3ds Max: export a 3D tour from your scene in one click
The VPano plugin for 3ds Max turns a finished 3D scene into a virtual 3D tour in a few minutes. You place cameras at the viewpoints you want and render the panoramas; the plugin then collects the model, the coordinates and the images and uploads everything to your VPano project.
You need a VPano account. If you do not have one yet, create an account here.
Requirements
- 3ds Max 2018 or later
- Any renderer: Scanline, ART, V-Ray, Corona, Arnold, Redshift and others
- A VPano account and an internet connection
Installation (short version)
- Download the plugin archive from your VPano account (section Plugins and integrations).
- Unpack it into the 3ds Max user scripts folder (you will find the exact path under Customize → Configure User and System Paths → User Scripts).
- Drag the file vpano_macro.ms into a Max viewport to register the macro.
- Open Customize → Customize User Interface → Toolbars, choose the VPano category and drag the VPano Export button onto a toolbar.
Step 1. Create an access token
- Open your VPano account settings.
- In the Tokens for plugins section, create a new token.
- Copy the token value (it is shown only once).
- In 3ds Max, open the plugin, paste the token into the Token field and click Test.
Step 2. Prepare the scene
- Every viewpoint in the tour is an ordinary 3ds Max camera.
- Tour cameras must follow the naming pattern pano_1, pano_2, pano_3 and so on.
- Place cameras at eye level (about 165 cm) and keep all important geometry in the scene: walls, floor, furniture.
Step 3. Render the panoramas
- For every pano_* camera, render a spherical panorama in equirectangular 2:1 format.
- Recommended resolution: 4096×2048 (or 8192×4096 for premium projects).
- File format: JPG or PNG.
Step 4. Assign panoramas to cameras
- The plugin lists all pano_* cameras.
- Either pick a file for each camera manually, or point the plugin to a folder with files named pano_1.jpg, pano_2.jpg and so on, and it matches them automatically.
Step 5. Export and upload to VPano
- Tick the option to upload to VPano after export.
- Choose a VPano project (or create a new one right from the plugin).
- Click Export: the plugin builds a .vpano file and uploads it to your account.
For a typical property with 10 to 20 viewpoints, the whole process takes just a few minutes.
Step 6. Refine the tour in VPano
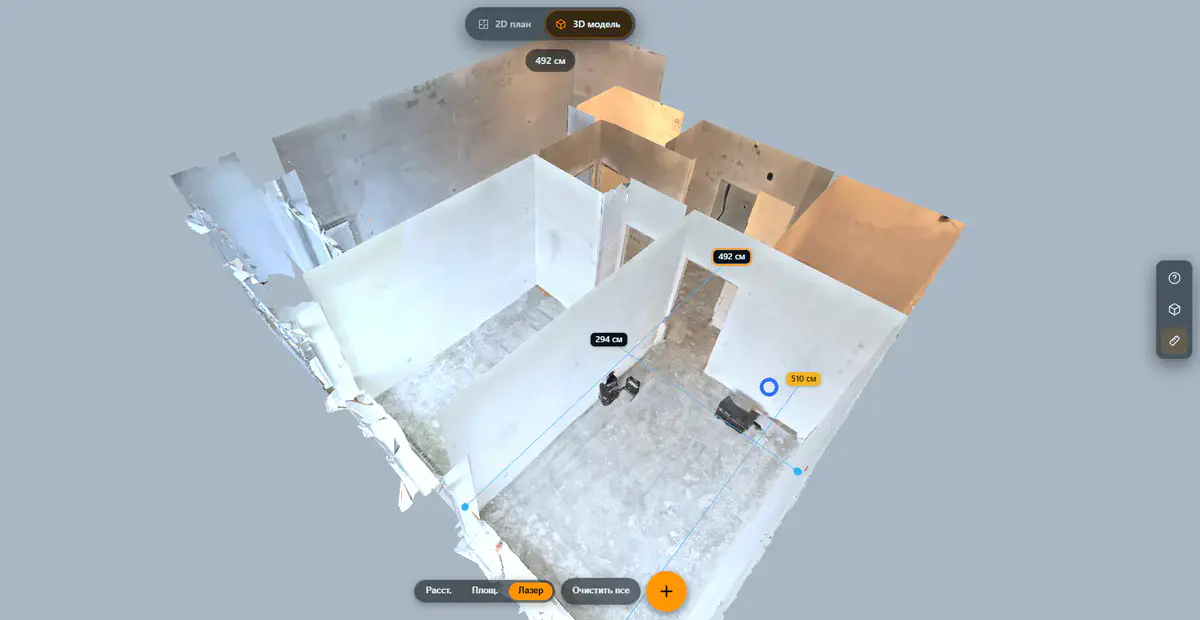
The finished tour appears in your account under 3D projects: the model (dollhouse), viewpoints at the same positions as the cameras, and the panoramas assigned to them.
From there you can:
- set up transitions and navigation;
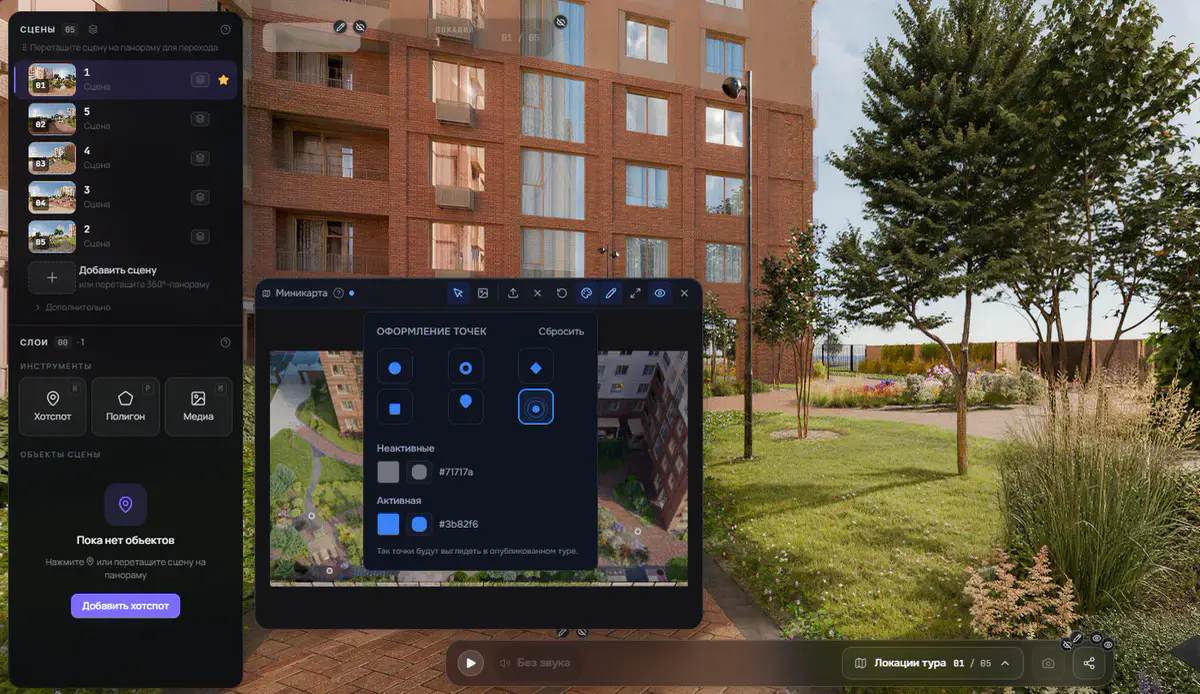
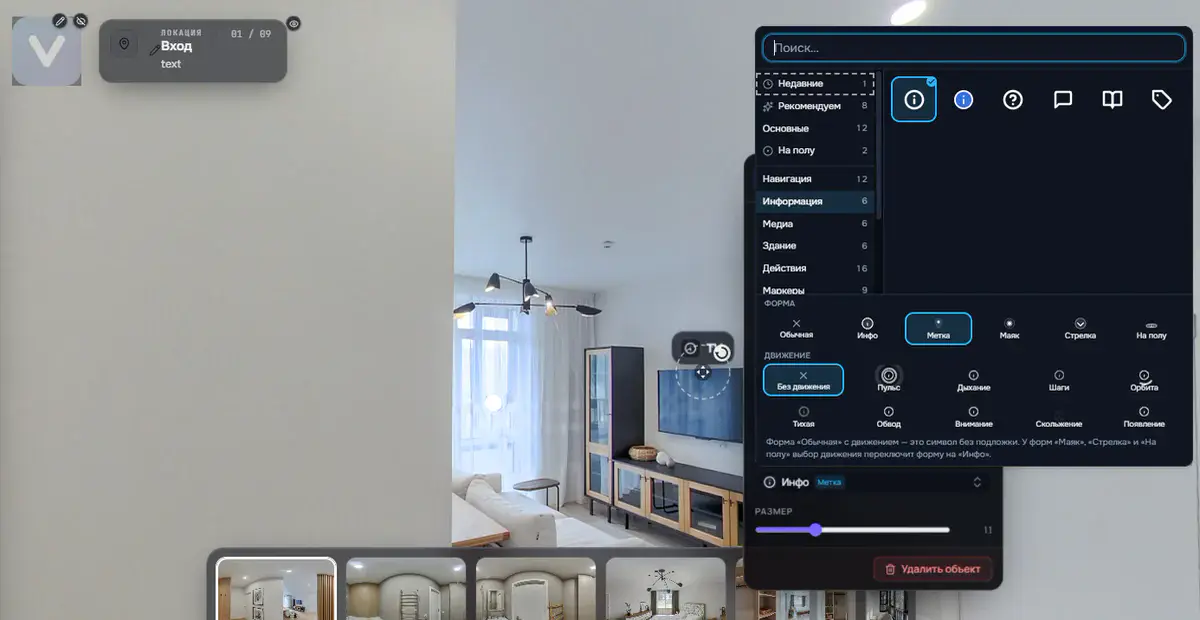
- add hotspots;
- apply your branding;
- publish the tour or, on request, get it as a ZIP archive for your own infrastructure (a one-time USD 250 per tour; an active plan is required).
Troubleshooting
- "Token invalid / Unauthorized": the token has expired or was copied with extra spaces. Create a new one and paste it again.
- "Server unreachable / Connection refused": a proxy or firewall is blocking access to the VPano server. Ask your administrator to add the domain to the exceptions.
- No cameras in the list: check that the names start with pano_ and end with a number.
- No VPano Export button in Customize: drag vpano_macro.ms into the viewport again and check the VPano category.
What's next
Once the tour is in VPano, you can keep refining it in the 3D studio: add sun glare, place navigation hotspots, brand the tour as your own, or get it as a ZIP archive for the client's own infrastructure, on request for a one-time USD 250 per tour (see ZIP export).
Questions or suggestions about the plugin? Get in touch. Integrations with 3D software are one of our priorities, and we value feedback from 3ds Max users.
Try it with your own project
Create a free account and build your first tour — paid plans are set up on request.
Create a free account →