VPano plugin for Cinema 4D: a 3D tour from C4D in one click

Today we are releasing a long-awaited update for archviz studios and motion designers: the VPano plugin for Cinema 4D. If you build 3D scenes in C4D and want to turn them into interactive virtual tours, you no longer need to export GLB by hand, copy camera coordinates or sort panoramas into separate folders. The plugin does all of that for you and sends the finished tour straight to your account.
The plugin is free of charge, runs on Windows and macOS and supports Cinema 4D R20 and later. You can download it from your account after you sign up.
What changes in your workflow
Until now, getting from a finished scene to an interactive tour meant several routine steps: configure the GLB export, check units and axis orientation, pull the camera coordinates out of the scene, render the panoramas, put everything into the right folder structure and upload it to the editor. On a typical project with a dozen viewpoints that took half an hour, and every iteration repeated the same steps.
Watch the video on Rutube (Russian narration)
The plugin reduces all of this to a single dialog:
- Place regular C4D cameras where the viewer should "stand" and name them pano_1, pano_2, pano_3 and so on
- Render a 360×180 spherical panorama for each camera with any engine you like: Octane, Redshift, V-Ray, Arnold, Corona or the built-in C4D renderer
- Open Extensions → VPano Export and choose the panorama folder and the project in your account
- Click Export: the plugin packages the model geometry, camera positions and panoramas and uploads them to your VPano account
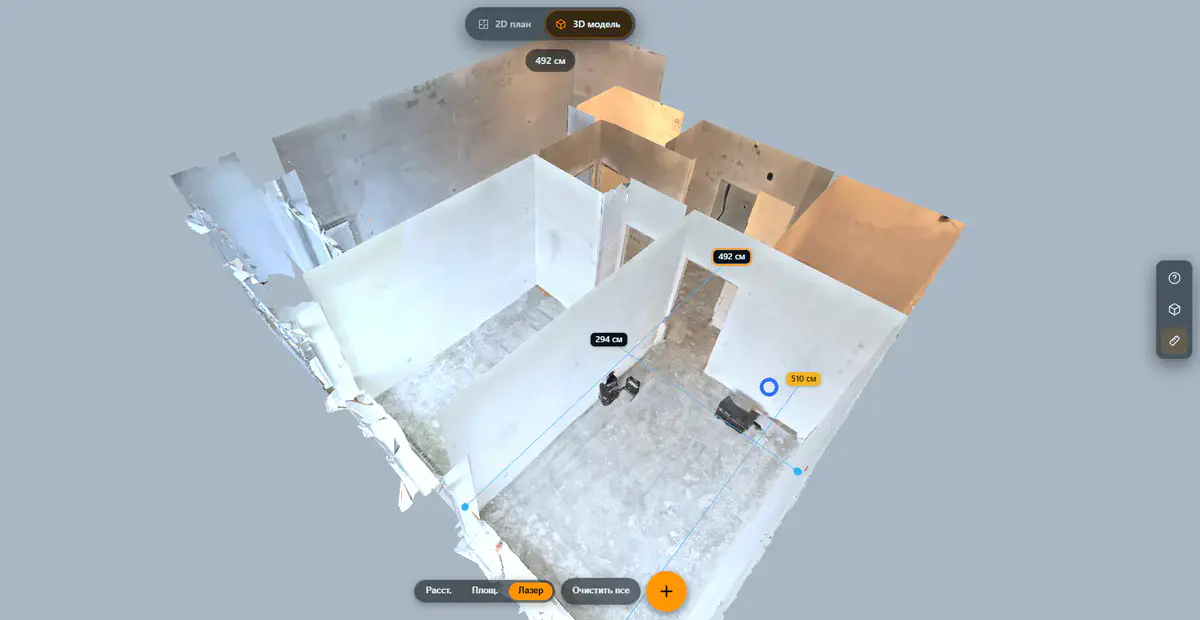
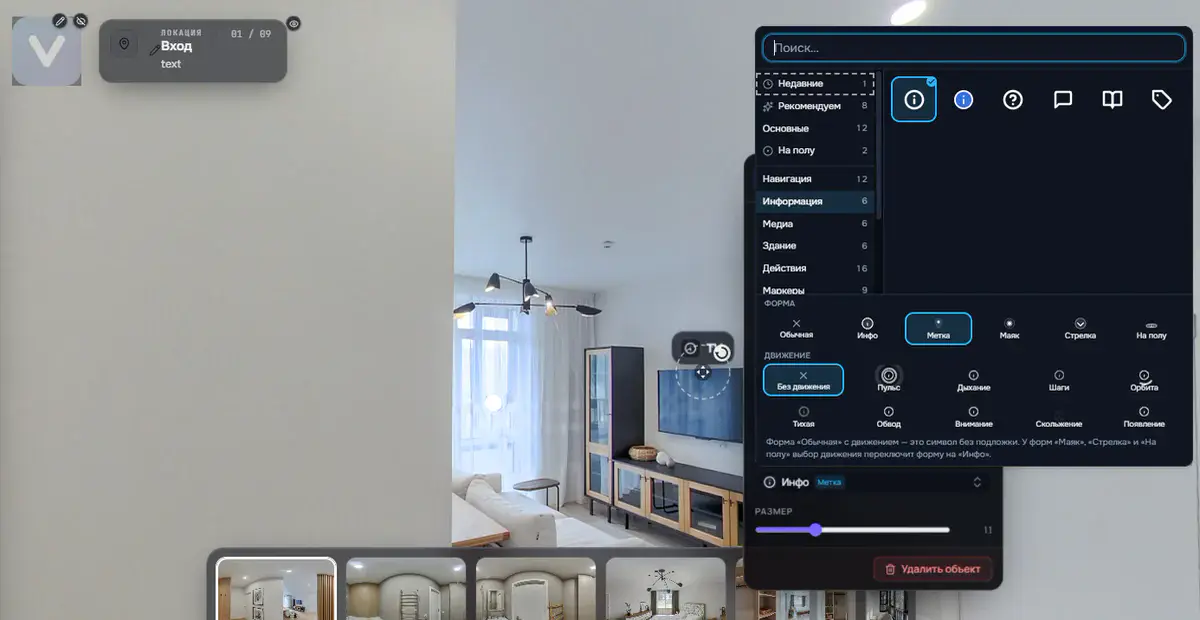
A few minutes later the finished tour appears under 3D projects: with an exterior view of the model, viewpoints exactly where your cameras stood, and the matching panoramas attached. From there you refine the tour in the 3D studio: add hotspots and transitions and apply your own branding. This is our "3D tour from renderings" workflow, reduced to a single click.
What you need
- Cinema 4D R20 or later (Python 2.7 or Python 3, the plugin detects which one)
- A VPano account: register here
- Any render engine that can produce spherical equirectangular panoramas. The plugin does not interfere with rendering and works with the finished images
The connection to your account uses a token from your dashboard, so you never enter your password in a third-party application, and the token can be revoked with one click. If you use two-factor authentication, the plugin supports it as well.
Getting started
Installation takes a few minutes: install the plugin, create a token in your account, name your cameras and export. If you get stuck with the setup, the token or scene preparation, contact us and we will help.
3ds Max users: a matching plugin for 3ds Max is already available and works the same way: the same cameras named pano_*, the same .vpano package, the same token.
What's next
The Cinema 4D and 3ds Max plugins are VPano's integrations with 3D applications. If you are missing features in the plugins, let us know: we read every message.
A finished tour can be published in the VPano cloud, shared with a client via a protected link, branded with your own identity, or, on request, delivered as a standalone ZIP package and hosted on your own server for a one-time USD 250 per tour (an active plan is required). The choice is yours.
In the meantime, create an account, download the plugin from the Plugins and integrations section and turn your first scene into an interactive tour today. Share the link with your client, so instead of scrolling through a PDF of renderings they can explore the project themselves.
Try it with your own project
Create a free account and build your first tour — paid plans are set up on request.
Create a free account →